Getting started
Cochl.Sense API offers two types of audio inference: File and Stream.
You can upload a file (MP3, WAV, OGG) or raw PCM audio stream.
File mode is for analyzing a whole audio file (MP3, WAV, OGG).
You upload an audio file and receive detected sounds in the file.Stream mode is for analyzing raw PCM audio stream.
When you have an audio stream (for example, being recorded from a microphone), you can upload and analyze it window by window (1 second).
This guide walks you through how to use Cochl.Sense API in Python.
(1) Sign up
First Sign up at Cochl Dashboard.

(2) Project Key
Create a new API project.
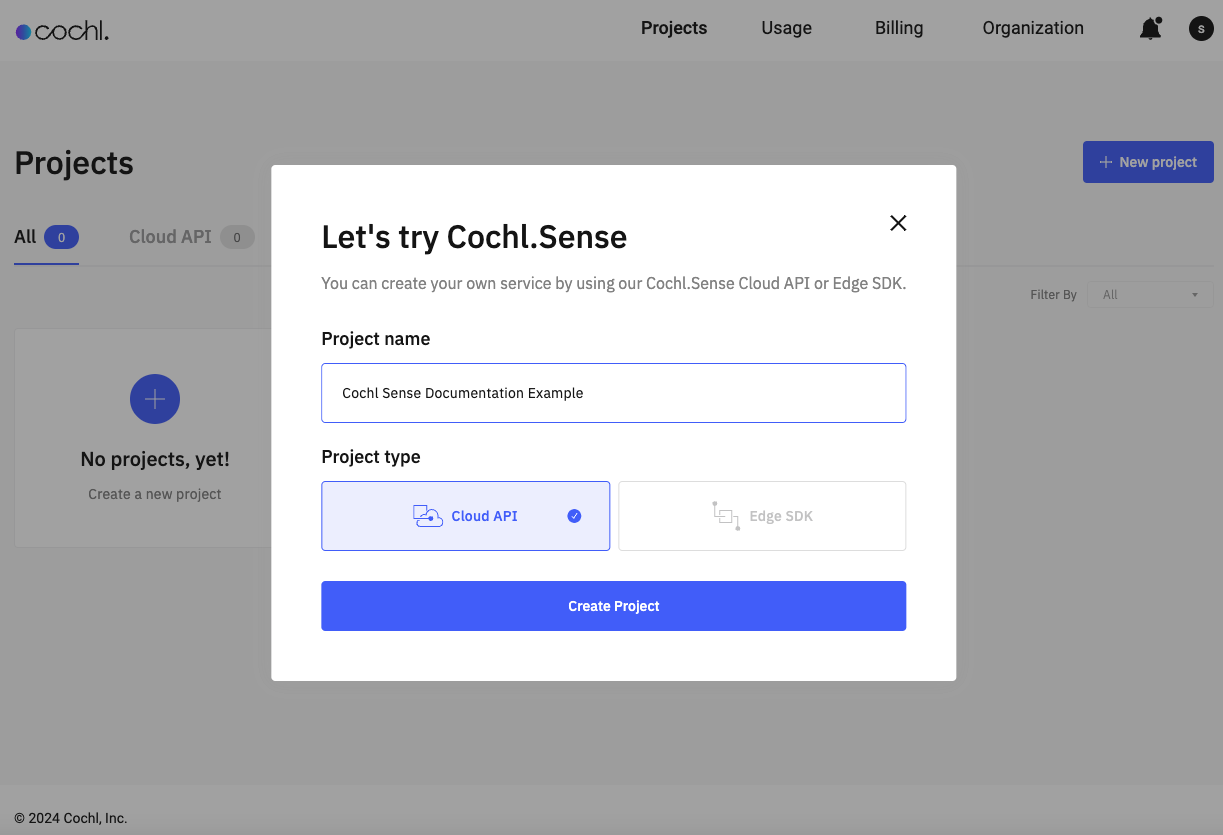
And its project key can be retrieved at Settings tab of the project.

(3) Prepare Python environment
Cochl.Sense API can be easily integrated into any Python application with Cochl library.
The library supports Python 3.8 or higher versions. Please make sure you’re using the valid Python version.
First Create a Python virtual environement.
python3 -m venv venv
. venv/bin/activate
pip install --upgrade pip
pip install --upgrade cochl
git clone https://github.com/cochlearai/cochl-sense-py.git
cd cochl-sense-py/samples
python3 -m venv venv
. venv/bin/activate
pip install --upgrade pip
pip install --upgrade cochl
git clone https://github.com/cochlearai/cochl-sense-py.git
cd cochl-sense-py/samples
python -m venv venv
.\venv\Scripts\activate
pip install --upgrade pip
pip install --upgrade cochl
git clone https://github.com/cochlearai/cochl-sense-py.git
cd cochl-sense-py/samples
(4) File sample
This simple setup is enough to input your file. You can copy and paste the API project key retrieved above.
import cochl.sense as sense

client = sense.FileClient("YOUR_API_PROJECT_KEY")

results = client.predict("your_file.wav")
print(results.to_dict())  # get results as a dict

# {
#     'session_id': 'df1637ab-5478-455c-bff8-c7b90ff215c2',
#     'window_results': [
#         {
#             'start_time': 0.0,
#             'end_time': 1.0,
#             'sound_tags': [
#                 {'name': 'Gunshot', 'probability': 0.578891396522522},
#                 {'name': 'Gunshot_single', 'probability': 0.578891396522522},
#             ],
#         },
#         {
#             'start_time': 0.5,
#             'end_time': 1.5,
#             'sound_tags': [
#                 {'name': 'Others', 'probability': 0.0}
#             ],
#         },
#         {
#             'start_time': 1.0,
#             'end_time': 2.0,
#             'sound_tags': [
#                 {'name': 'Others', 'probability': 0.0}
#             ],
#         },
#     ]
# }
You can adjust the custom settings like below. For more details please refer to Advanced Configurations.
import cochl.sense as sense

api_config = sense.APIConfig(
    window_hop=sense.WindowHop.HOP_1s,
    sensitivity=sense.SensitivityConfig(
        default=sense.SensitivityScale.LOW,
        by_tags={
            "Baby_cry": sense.SensitivityScale.VERY_LOW,
            "Gunshot":  sense.SensitivityScale.HIGH,
        },
    ),
)

client = sense.FileClient(
    "YOUR_API_PROJECT_KEY",
    api_config=api_config,
)

results = client.predict("your_file.wav")
print(results.to_dict())  # get results as a dict
The file prediction result can be displayed in a summarized format. More details at Summarized Result.
# print(results.to_dict())  # get results as a dict

print(results.to_summarized_result(
    interval_margin=2,
    by_tags={"Baby_cry": 5, "Gunshot": 3}
))  # get results in a simplified format

# At 0.0-1.0s, [Baby_cry] was detected
Cochl.Sense API supports three file formats: MP3, WAV, OGG.
If a file is not in a supported format, it has to be manually converted. More details here.
File sample code can be also found here.
(5) Stream sample
Any raw PCM audio stream data can be predicted like below. You can copy and paste the API project key retrieved above.
The code below shows the overview of how Cochl.Sense API can be used with stream data.
import cochl.sense as sense

# when audio is sampled in 22,050Hz and each sample is in f32le
SENSE_DATA_TYPE = sense.AudioDataType.F32
SENSE_ENDIAN = sense.AudioEndian.LITTLE
SAMPLE_RATE = 22050

audio_type = sense.StreamAudioType(
    data_type=SENSE_DATA_TYPE,
    endian=SENSE_ENDIAN,
    sample_rate=SAMPLE_RATE,
)
client = sense.StreamClient(
    "YOUR_API_PROJECT_KEY",
    audio_type=audio_type,
)

# put `bytes` type data into StreamBuffer
# and it returns predictable audio window when pop()
buffer = client.get_buffer()
your_audio_stream_data = ...  # `bytes` type data
buffer.put(your_audio_stream_data)
if buffer.is_ready():
    audio_window = buffer.pop()
    result = client.predict(audio_window)
    print(result)


# {'start_time': 0.0, 'end_time': 1.0, 'sound_tags': []}
# {'start_time': 0.5, 'end_time': 1.5, 'sound_tags': []}
# {'start_time': 1.0, 'end_time': 2.0, 'sound_tags': [{'name': 'Speech', 'probability': 0.18024994432926178}, {'name': 'Male_speech', 'probability': 0.18024994432926178}]}
# {'start_time': 1.5, 'end_time': 2.5, 'sound_tags': []}
# {'start_time': 2.0, 'end_time': 3.0, 'sound_tags': [{'name': 'Clap', 'probability': 0.8431069254875183}]}
# {'start_time': 2.5, 'end_time': 3.5, 'sound_tags': [{'name': 'Clap', 'probability': 0.6679767370223999}]}
# ...
stream_sample.py shows more detailed example using PyAudio.
This sample requires PyAudio installed.
brew install portaudio
pip install pyaudio
sudo apt install portaudio19-dev
pip install pyaudio
pip install pyaudio
(Note) The result of stream feature does not support summarized format because it outputs its result in real-time.
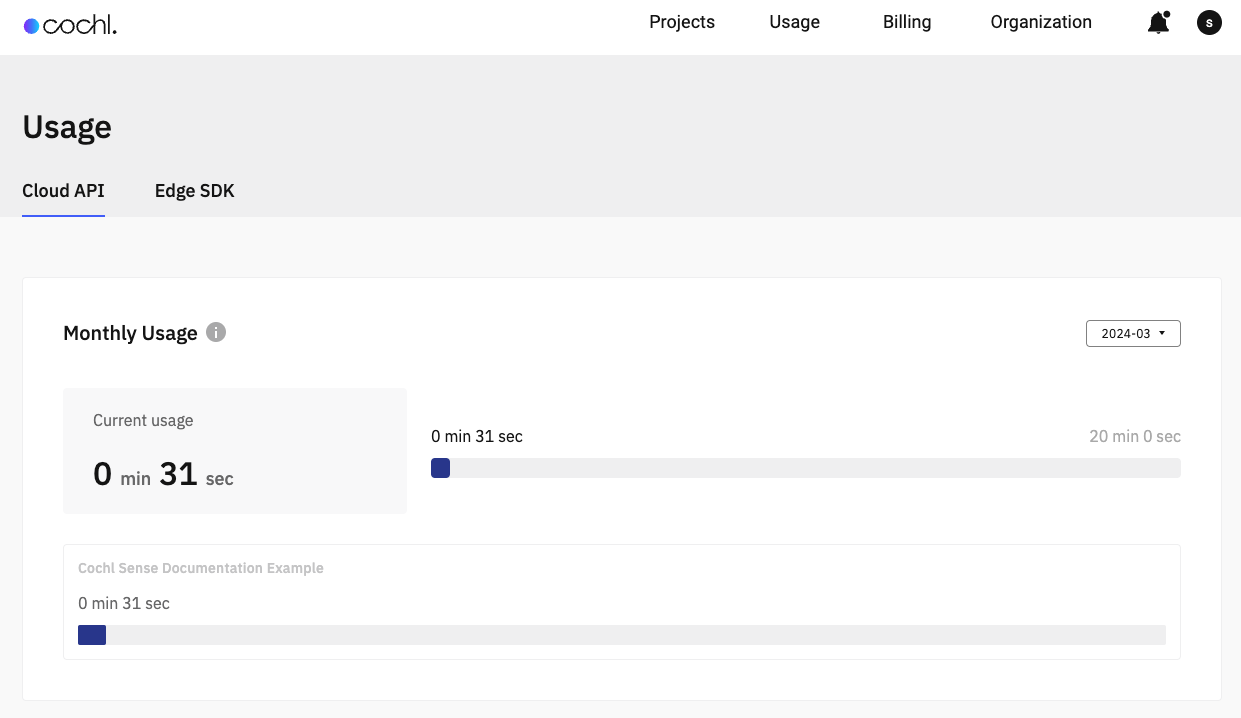
(6) Check Usage
You can review your usage on Cochl Dashboard.
Advanced Configurations
Window Hop
Cochl.Sense analyzes audio data in “window” unit, which is a block of 1 second audio data. Window hop represents the timely gap between windows, meaning frequency of inference in seconds.
For example, audio windows are like below when window hop is 0.5s.
- Window #0 (0.0s ~ 1.0s)
- Window #1 (0.5s ~ 1.5s)
- Window #2 (1.0s ~ 2.0s)
When window hop is 1.0s, audio windows are like below.
- Window #0 (0.0s ~ 1.0s)
- Window #1 (1.0s ~ 2.0s)
- Window #2 (2.0s ~ 3.0s)
The window hop is adjusted with WindowHop Enum.
HOP_500ms(default)HOP_1s
import cochl.sense as sense

api_config = sense.APIConfig(
    window_hop=sense.WindowHop.HOP_1s,  # or sense.WindowHop.HOP_500ms
)
client = sense.FileClient(
    "YOUR_API_PROJECT_KEY",
    api_config=api_config,
)
Sensitivity
Detection sensitivity can be adjusted for all tags or each tag individually.
If you feel that tags are not detected well enough, increase sensitivities. If there are too many false detections, lower sensitivities.
The sensitivity is adjusted with SensitivityScale Enum.
VERY_HIGHHIGHMEDIUM(default)LOWVERY_LOW
import cochl.sense as sense

api_config = sense.APIConfig(
    sensitivity=sense.SensitivityConfig(
        # default sensitivity applied to all tags not specified in `by_tags`
        default=sense.SensitivityScale.LOW,
        by_tags={
            "Baby_cry": sense.SensitivityScale.VERY_LOW,
            "Gunshot":  sense.SensitivityScale.HIGH,
        },
    ),
)
client = sense.FileClient(
    "YOUR_API_PROJECT_KEY",
    api_config=api_config,
)
Other notes
Convert to supported file formats (WAV, MP3, OGG)
Pydub is one of the easy ways to convert audio file into a supported format (WAV, MP3, OGG).
First install Pydub refering to this link.
Then write a Python script converting your file into a supported format like below.
from pydub import AudioSegment

mp4_version = AudioSegment.from_file("sample.mp4", "mp4")
mp4_version.export("sample.mp3", format="mp3")
For more details of Pydub, please refer to this link.
Summarzied Result
You can summarize the file prediction result by aggregating consecutive windows, returning the time and length of the detected tag.
The interval margin is a parameter that treats the unrecognized window between tags as part of the recognized ones and it affects all sound tags.
If you want to specify a different interval margin for specific sound tags, you can use the by_tags option.
print(results.to_summarized_result(
    interval_margin=2,
    by_tags={"Baby_cry": 5, "Gunshot": 3}
))

# At 0.0-1.0s, [Baby_cry] was detected