Custom Sound: Speaker Profile
Custom Sound: Speaker Profile registers a person’s voice so Cochl.Sense can identify them by name in any Speech Analysis result. Without a profile, the response leaves speaker_name as null and you fall back to the diarization label (SPEAKER_00, SPEAKER_01, …).
Speaker Profiles are available on Cloud API projects only.
1. Create a Cloud API Project
If you don’t have one yet, follow Dashboard Quick Start and create a project with type Cloud API.
2. Register a Profile
Two registration paths—via the Dashboard, or programmatically with SpeakerProfileApi. Pick whichever fits your flow.
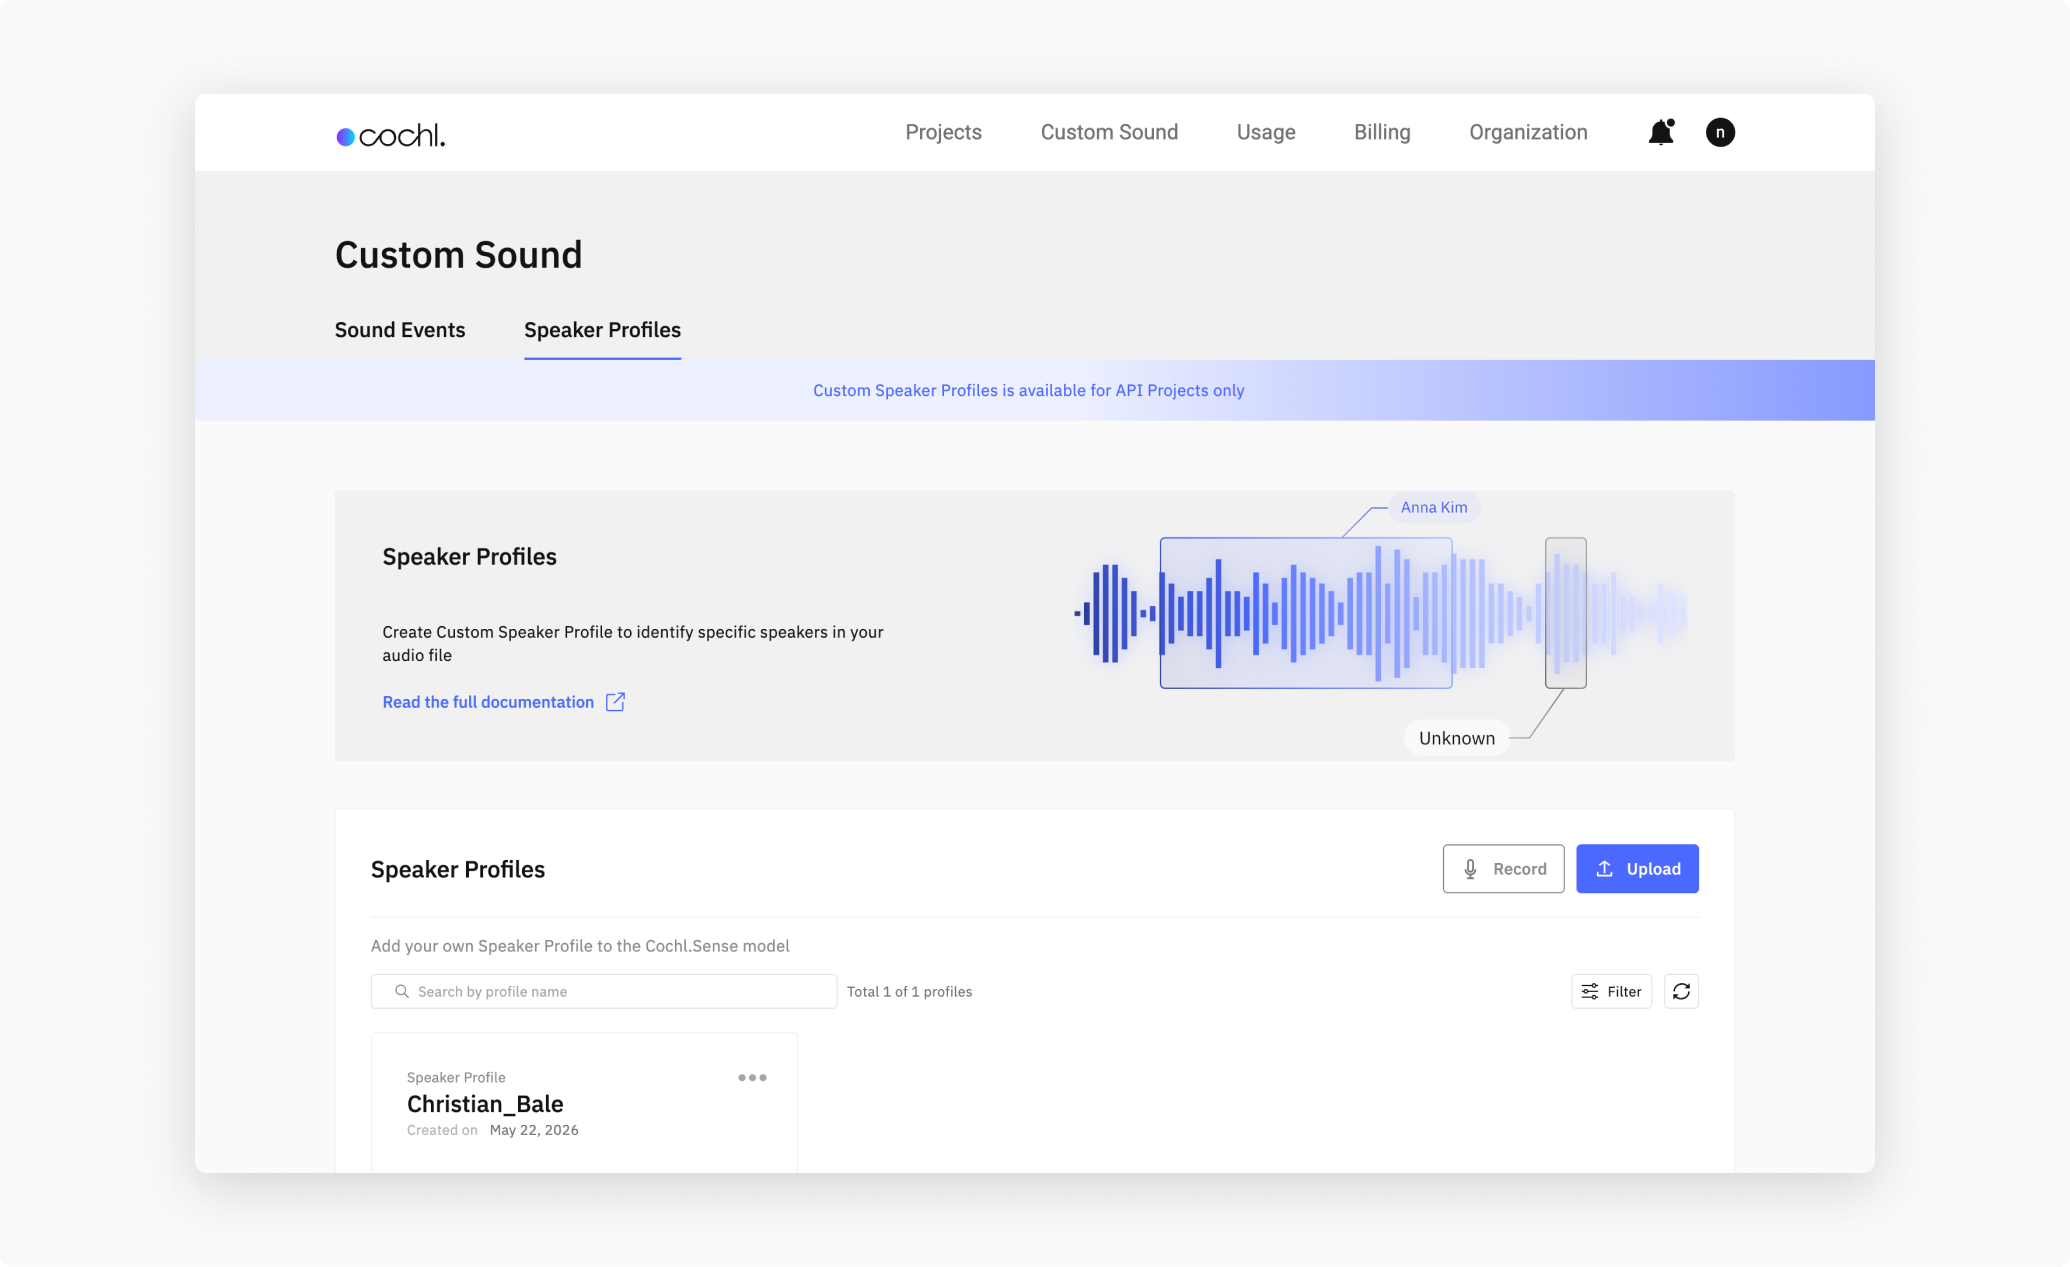
2.1 Via the Dashboard
From the Dashboard, open Custom Sound in the top nav and switch to the Speaker Profiles sub-tab. You have two ways to register a voice:
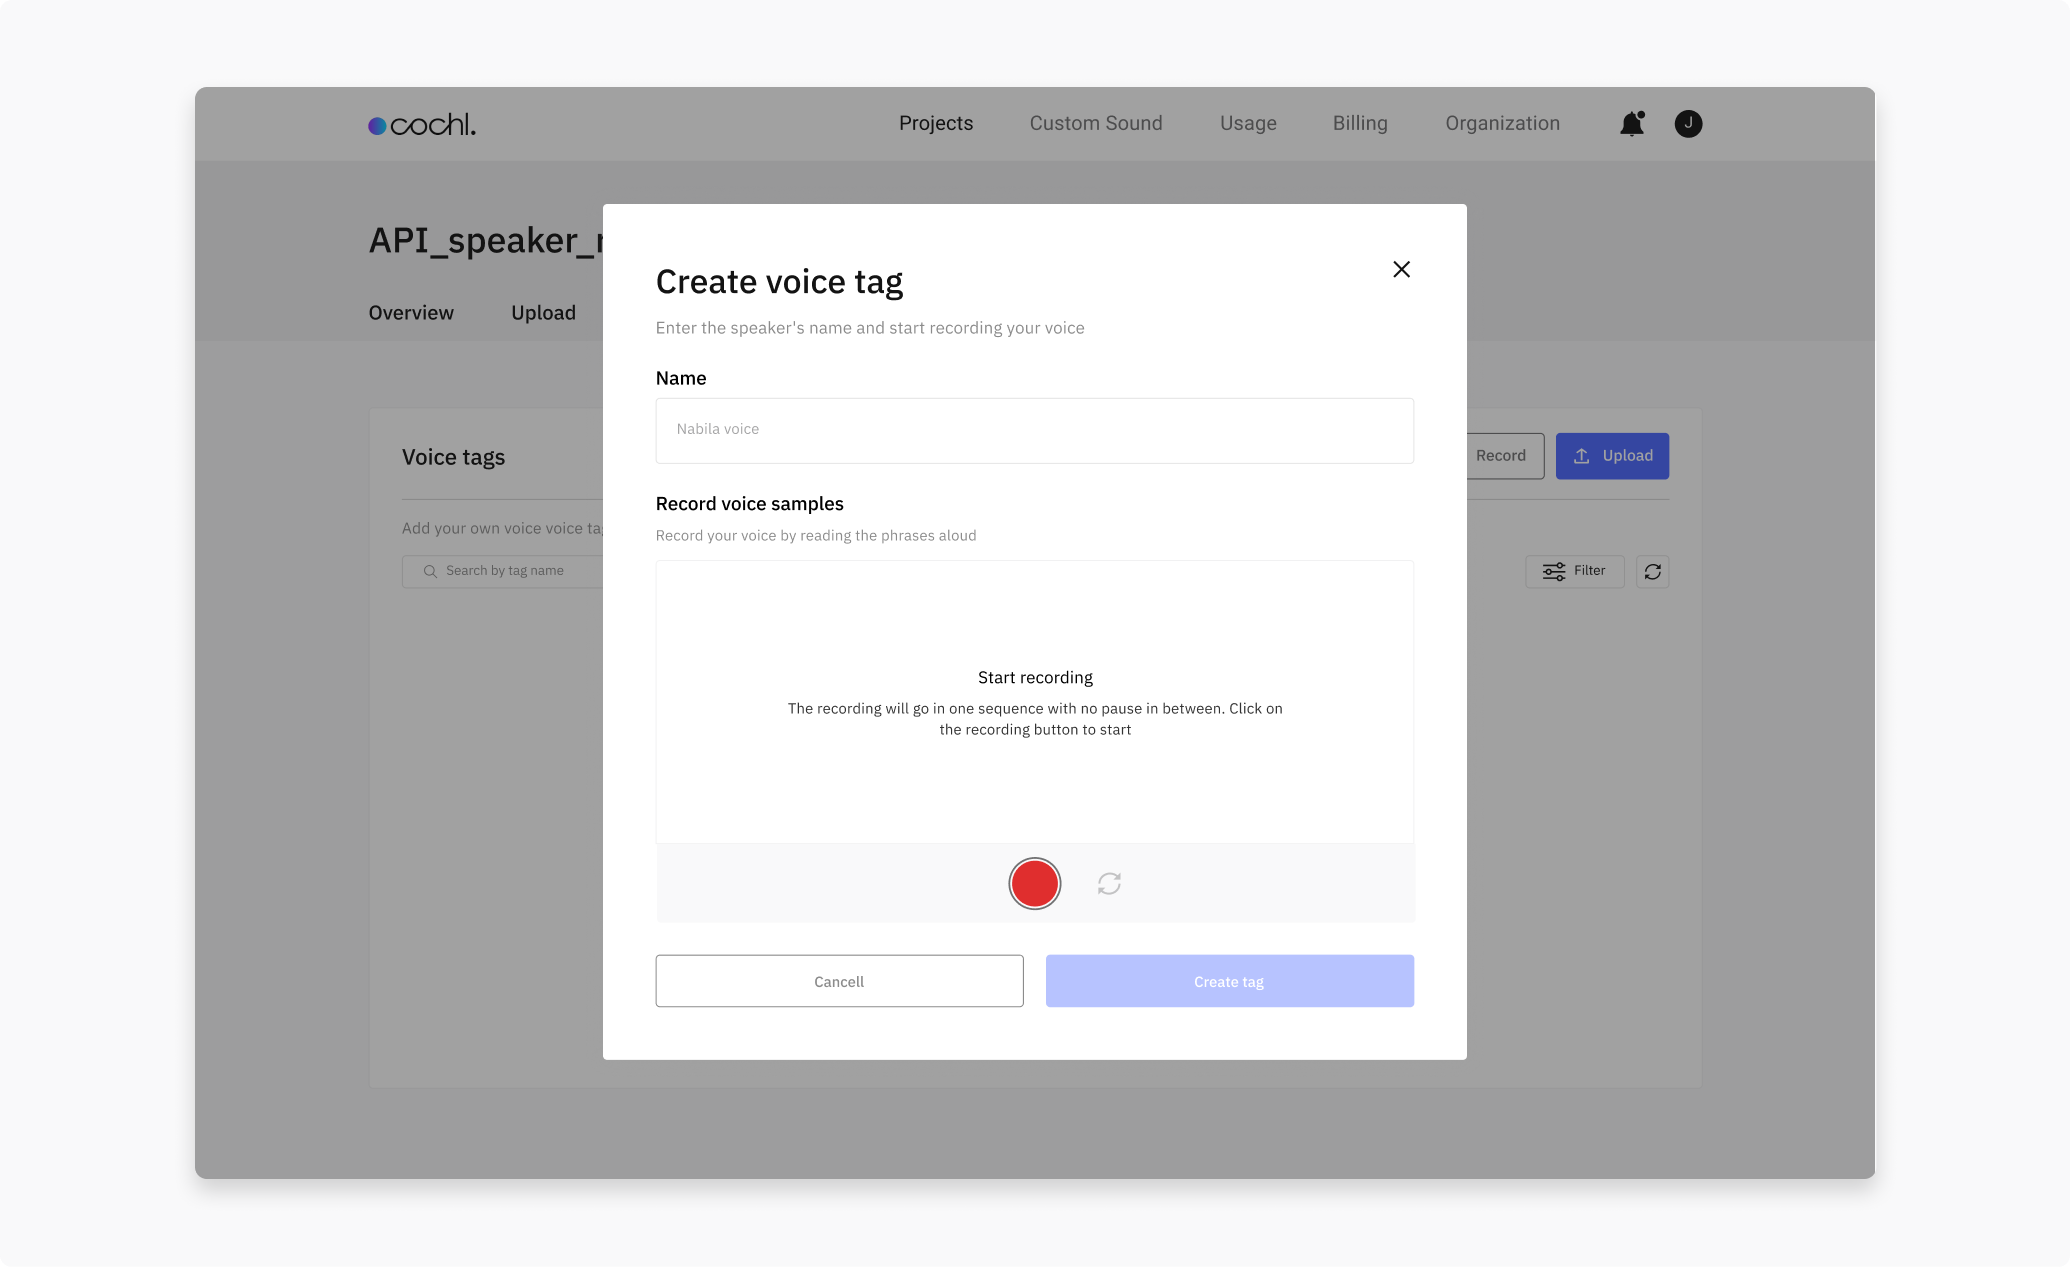
- Record — guided in-browser recording (you’ll read several prompted sentences).
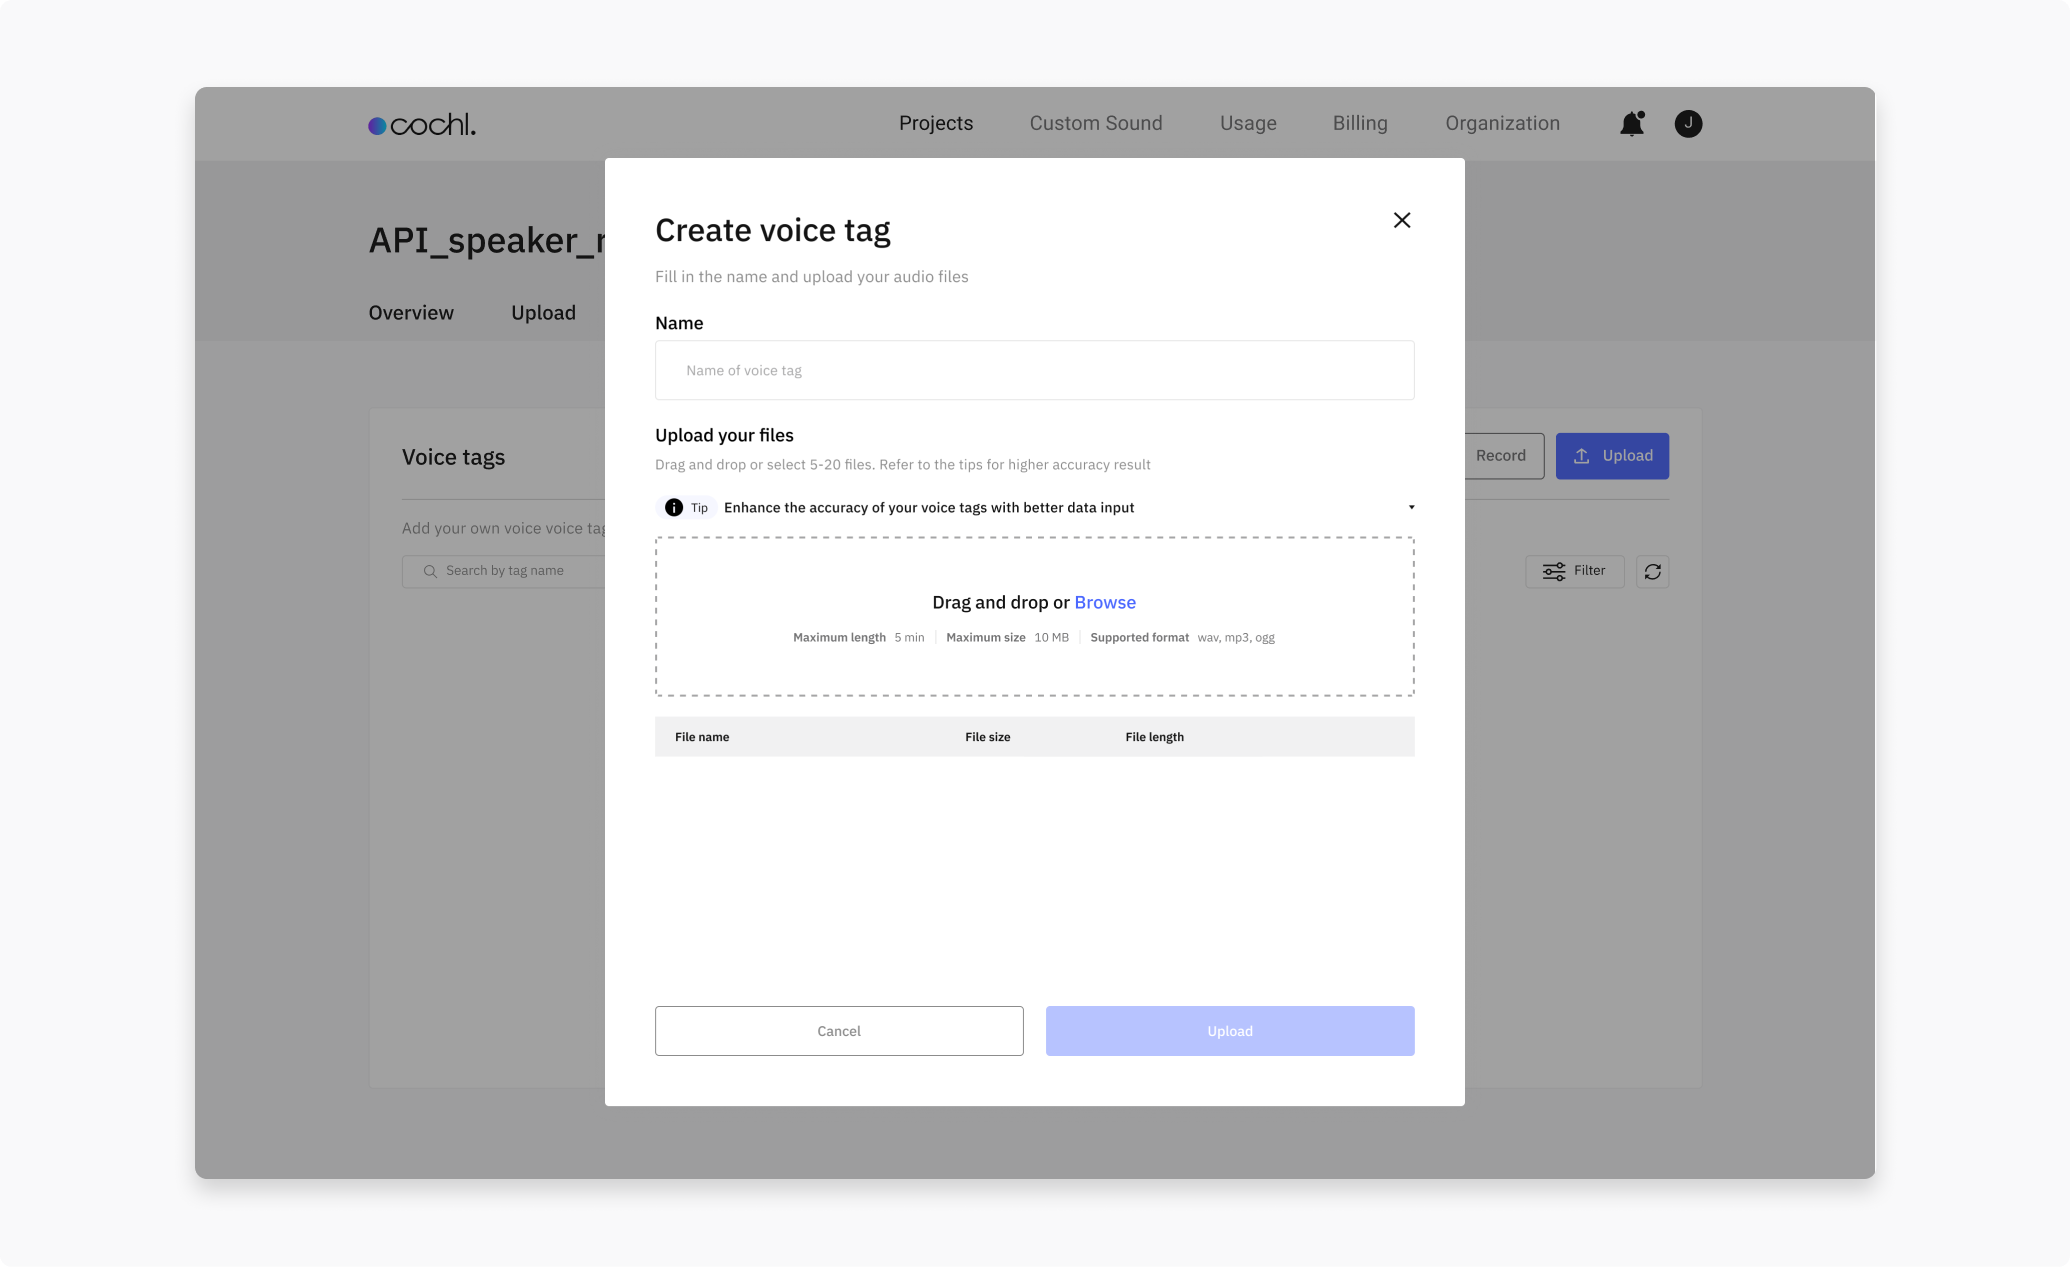
- Upload — drop 5–20 audio files of the same speaker.
Record: click Record, enter a profile name, then press the red record button. Follow the prompts — there are five phases, each reading a short sentence. When all phases complete, click Create tag.
Upload: click Upload, enter a profile name, and drag in 5–20 audio files. They should all be the same speaker, in conditions similar to where you’ll use the profile (same microphone, room type, language). Click Create tag to upload.
2.2 Via the Python library
If you want to register and manage profiles from code — for example, to onboard speakers as part of your own app’s signup flow — use SpeakerProfileApi. It runs against your organization (not a single project), so the constructor takes your organization key, not a project key.
from cochl.sense import SpeakerProfileApi


def main():
    api = SpeakerProfileApi('YOUR_ORGANIZATION_KEY')

    # Register a new voice from an audio file.
    result: dict = api.add_new_voice('SPEAKER_NAME', 'AUDIO_FILE_PATH')
    print(result)

    # List every speaker registered under this organization.
    result: dict = api.list_all_speakers()
    print(result)

    # Recognize speakers in a file directly (no Integration job needed).
    result: dict = api.recognize('AUDIO_FILE_PATH')
    print(result)

    # Remove a profile.
    result: dict = api.remove('SPEAKER_NAME')
    print(result)


if __name__ == '__main__':
    main()
You can find your organization key under the Organization tab on the Dashboard.
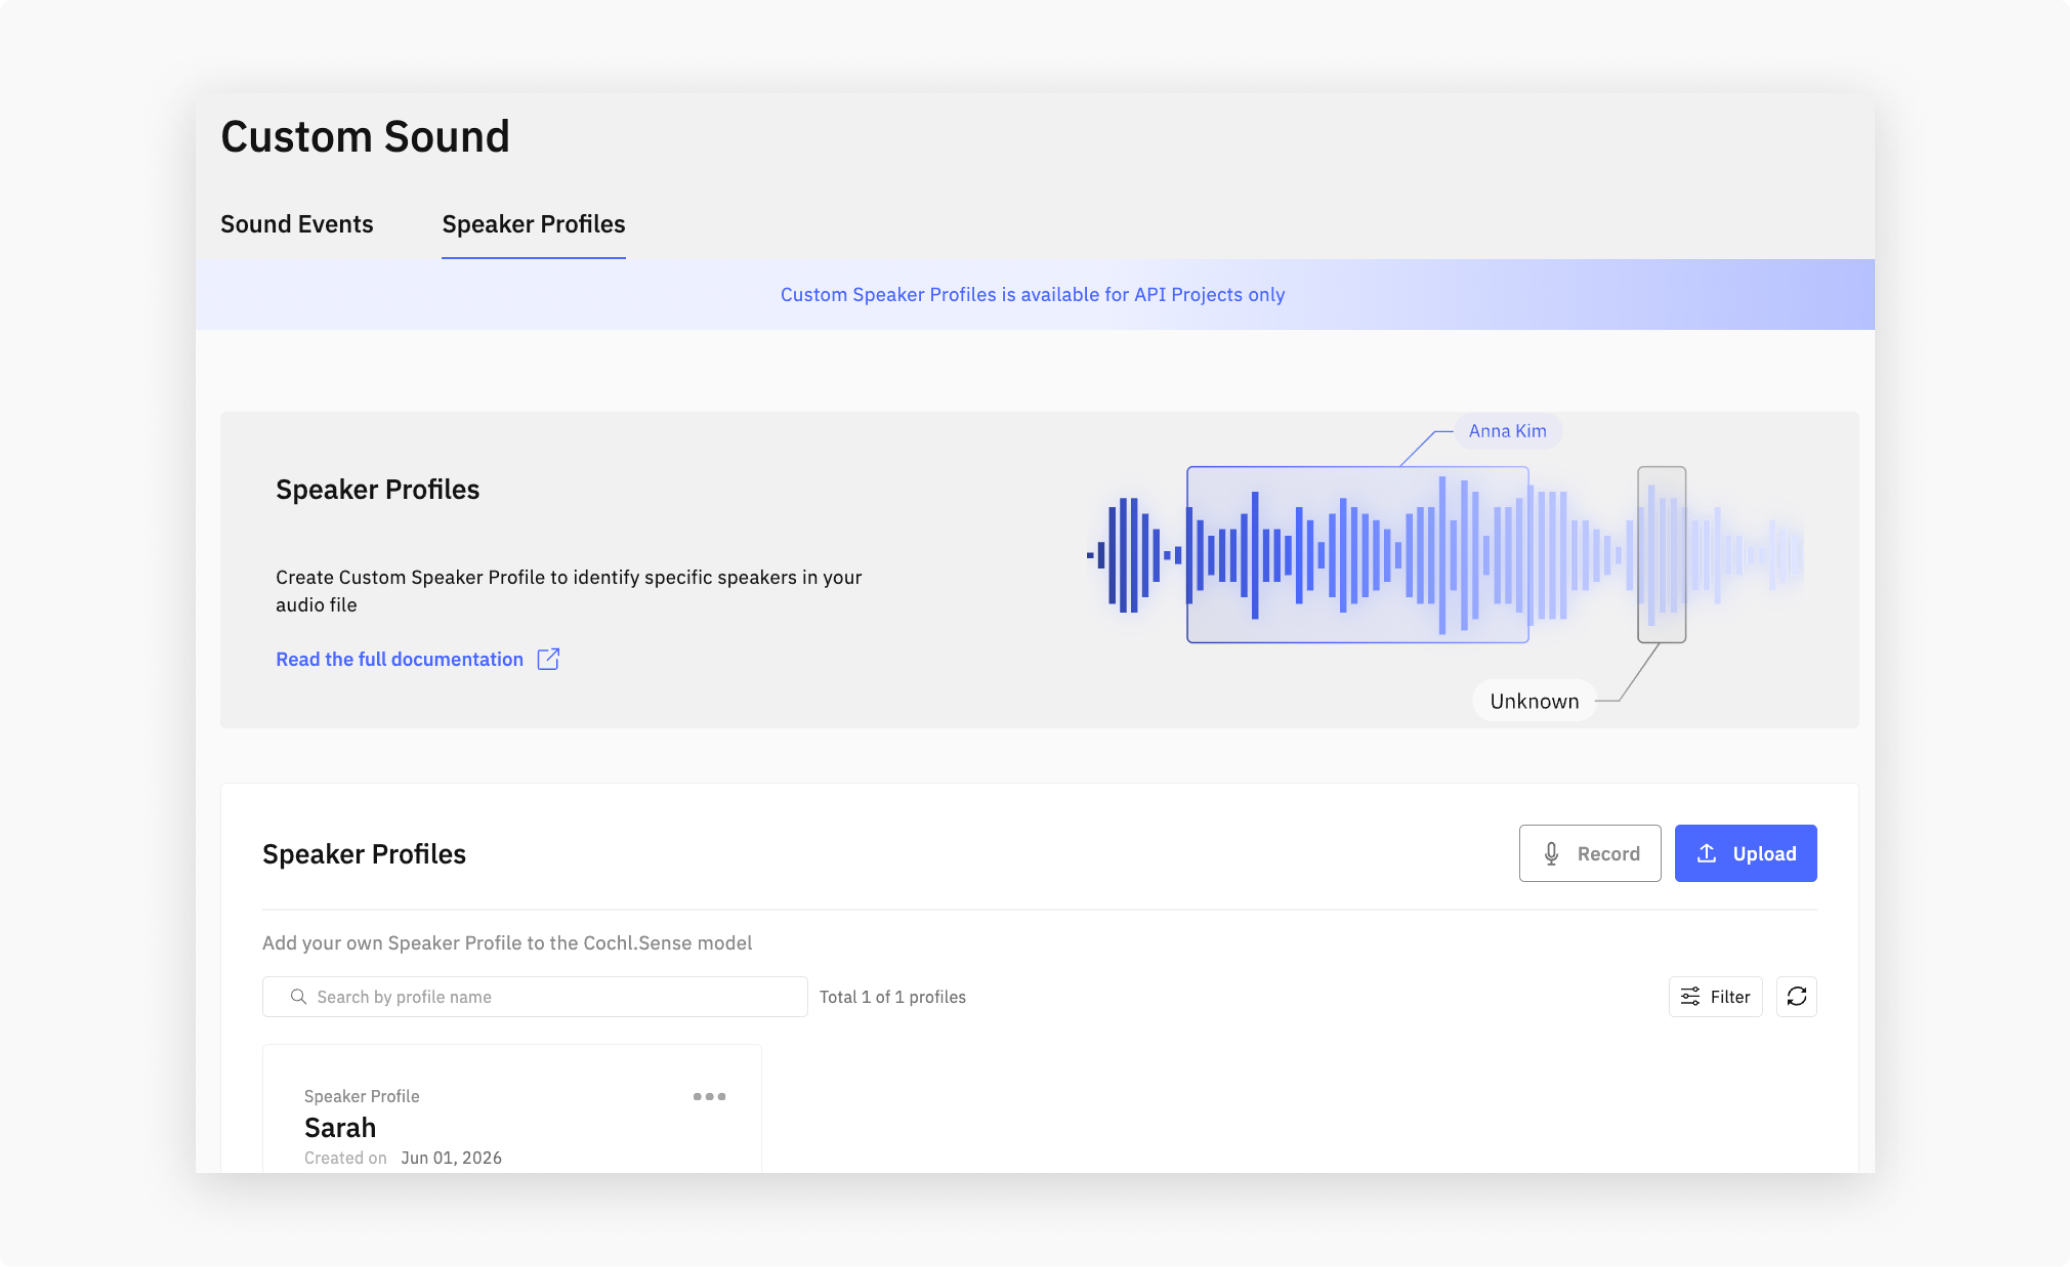
3. Verify the profile
Profiles appear in the Speaker Profiles list with their creation date and total registered audio length. The list also surfaces is_compatible — false means a model upgrade has invalidated the profile and you should re-register.
4. Run Speech Analysis with profiles
Profiles take effect automatically. Upload any file with Speech Analysis enabled — registered speakers will be matched and named in the transcript:
{
  "speaker": "SPEAKER_02",
  "speaker_name": "Anna_Kim",
  "speaker_score": 0.42,
  "transcript": "Let's review the agenda.",
  "start_time": "00:12.40",
  "end_time": "00:14.90",
  "start_time_sec": 12.4,
  "end_time_sec": 14.9
}
When a voice doesn’t match any registered profile, speaker_name and speaker_score are null and you fall back to the diarization label in speaker (e.g. SPEAKER_00, SPEAKER_01, …) — stable within a single file but not across files. See Speech Analysis → Transcription output for the full field list.
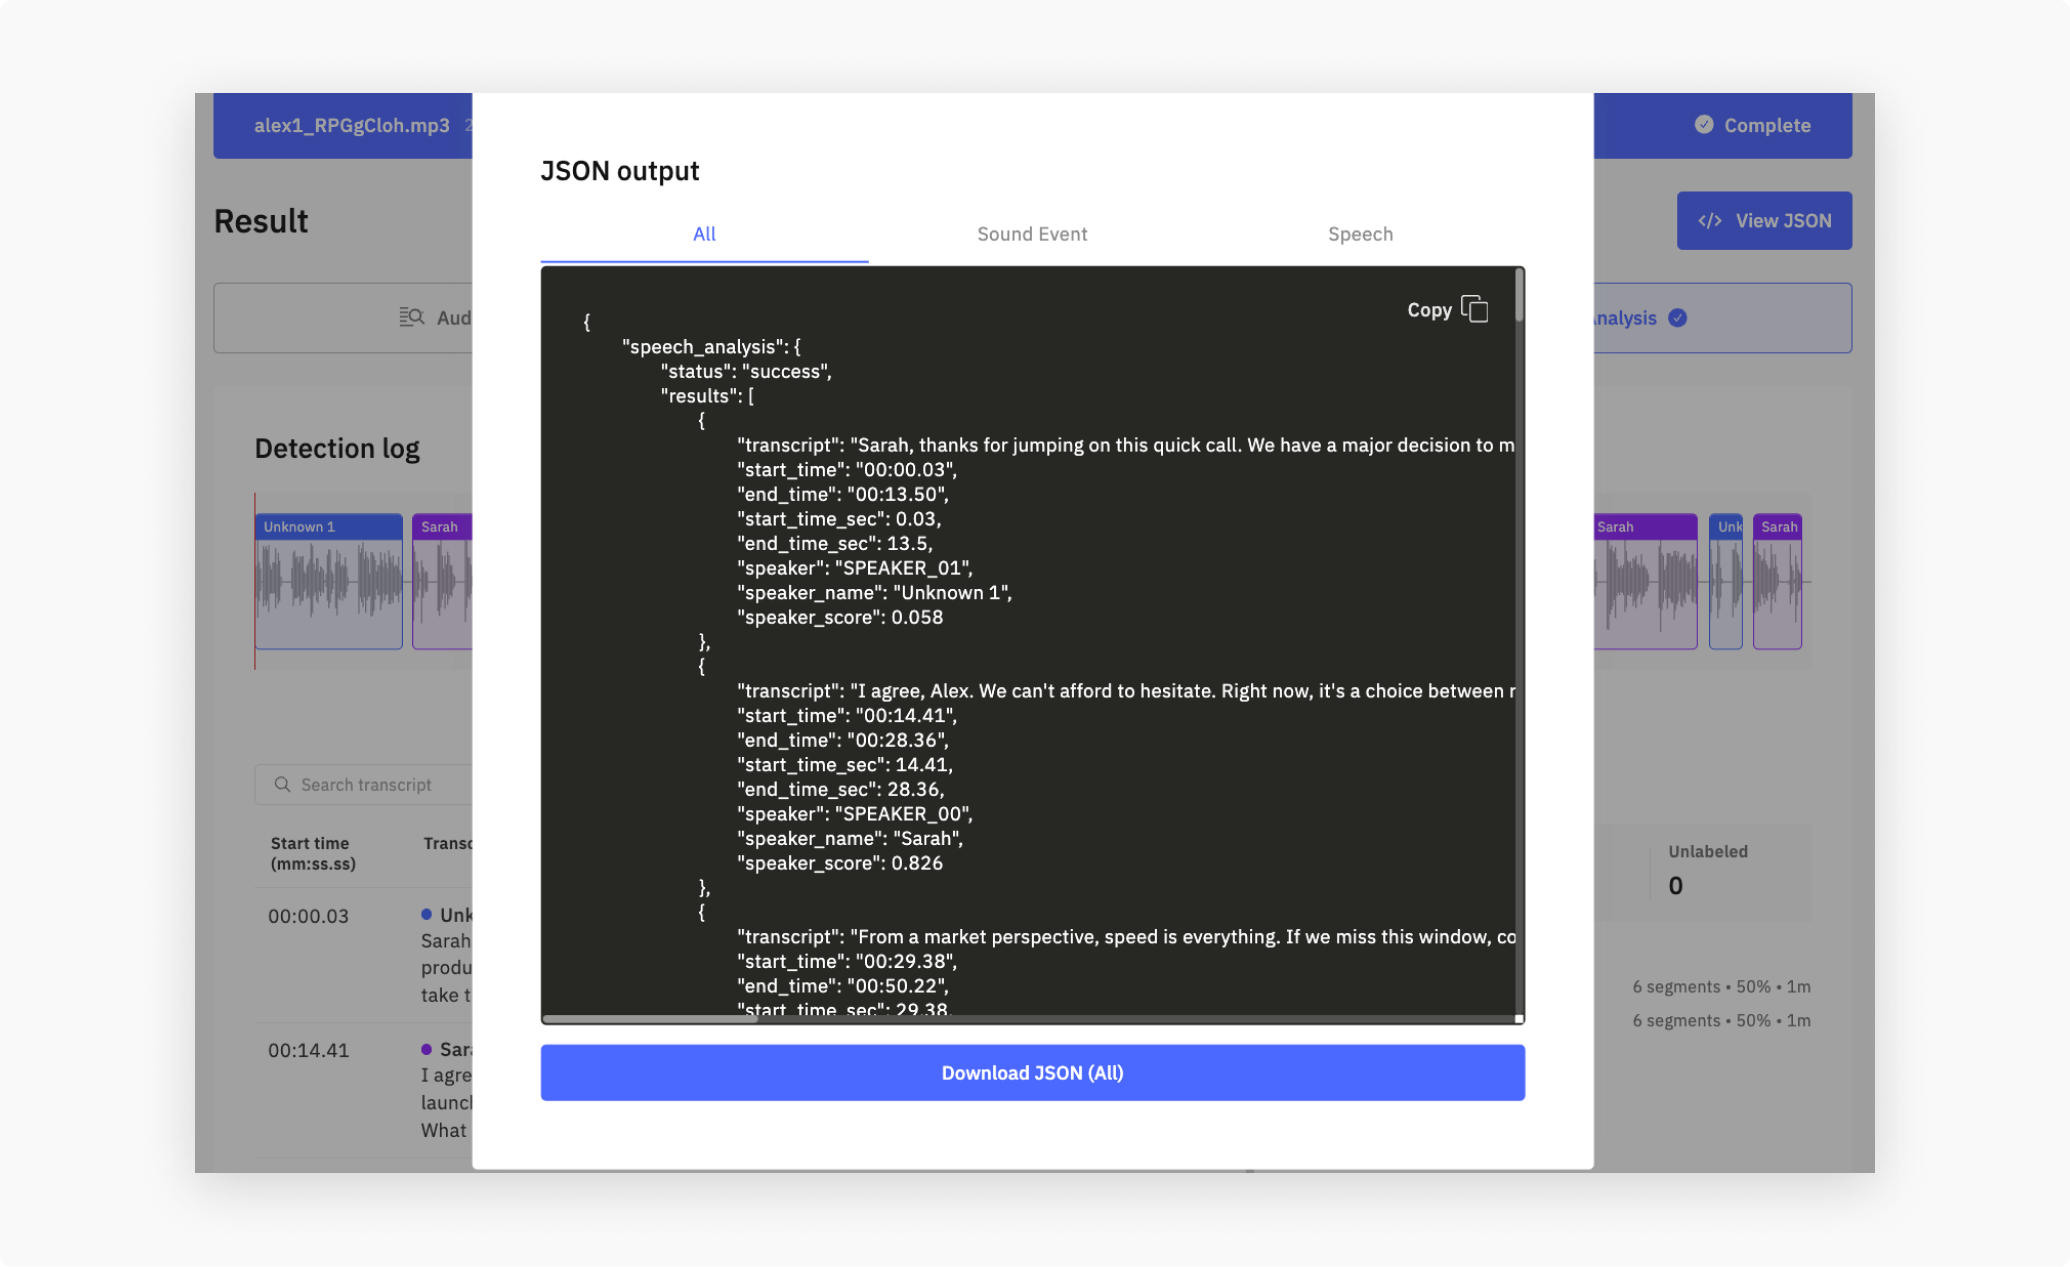
5. Check the result on the Dashboard
Once a profile is registered, go to the Upload tab of your Cloud API project and drop an audio file. Cochl.Sense analyzes it and renders the output in three sections:
- Audio Insights—high-level summary of the scene
- Sound Event Detection—detected non-speech events with timing
- Speech Analysis—per-utterance transcript with speaker labels. Registered speakers populate
speaker_nameandspeaker_score; unmatched voices leave both asnulland the diarization label inspeaker(e.g.SPEAKER_00) is what you display.
Click View JSON in the top-right corner to download the raw payload. You can choose between combined output (all three layers), Sound Event Detection only, or Speech Analysis only.
6. Best practices
- 5–20 samples is the sweet spot. Fewer hurts accuracy; more doesn’t help proportionally.
- Match conditions. Use the same kind of microphone and acoustic environment as your target uploads.
- Single speaker per profile. Don’t mix voices into one profile.
- Re-register after model upgrades. When
is_compatibleflips tofalse, the underlying voice model has changed.
See also
- Speech Analysis—feature overview, output schema, and best practices
- Custom Sound: Sound Events—the other Custom Sound type. Available on the Edge SDK only, for training new sound tags.