Getting started
This guide will walk you through the first steps to use the Cochl.Sense SDK.
1. Preparation
(1) Sign up
- Sign up at https://dashboard.cochl.ai
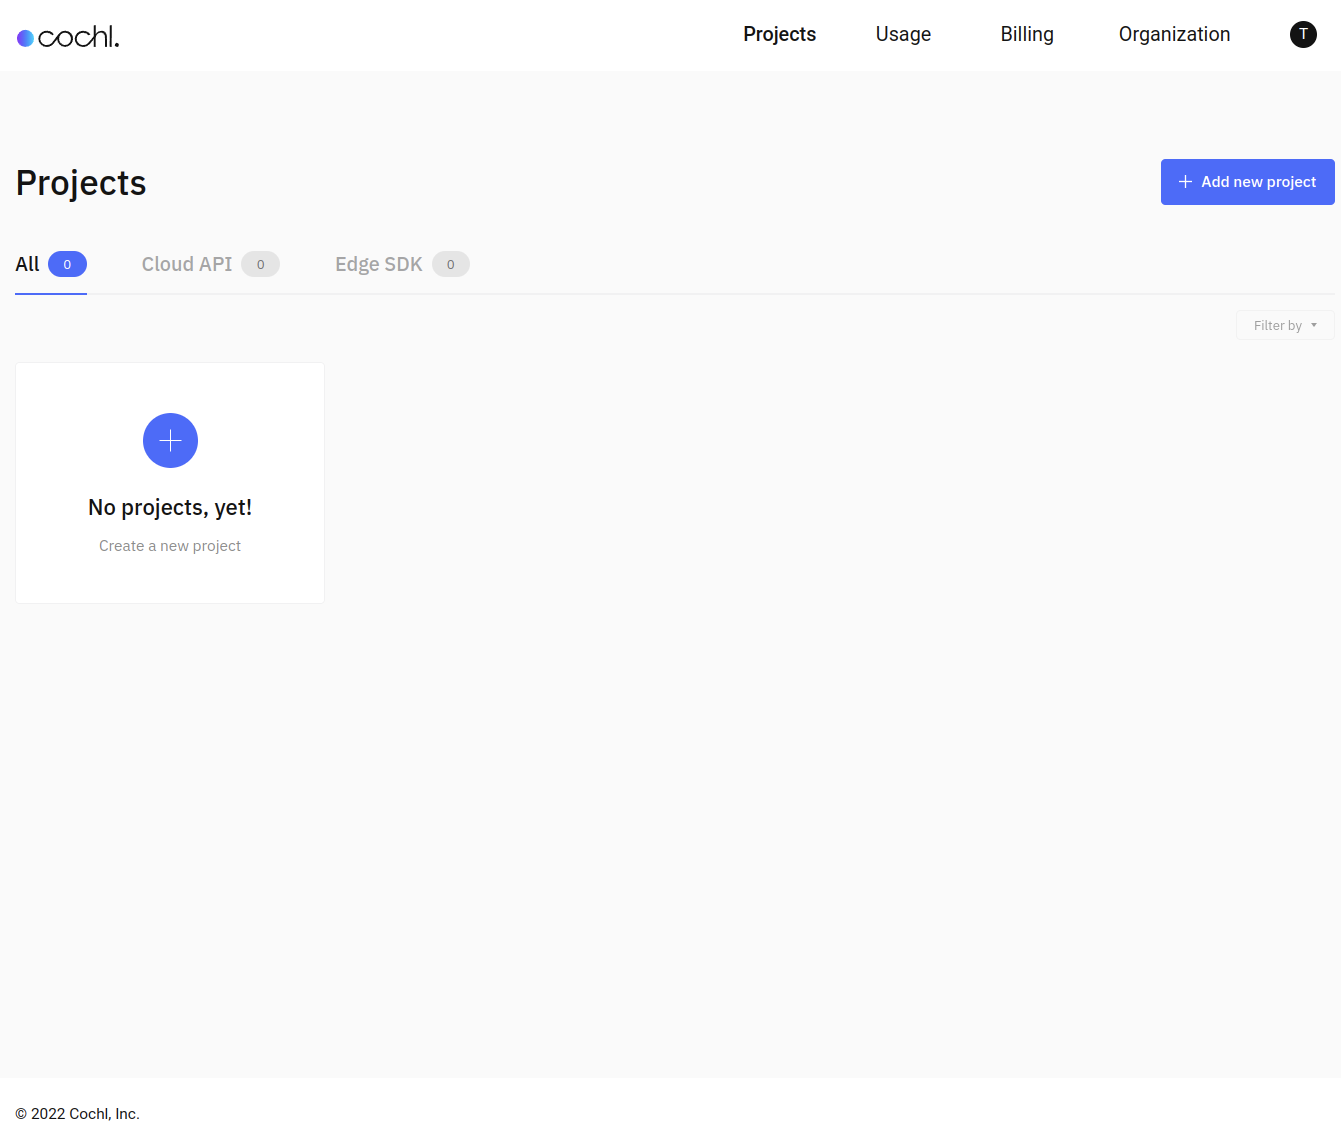
(2) Add a new project


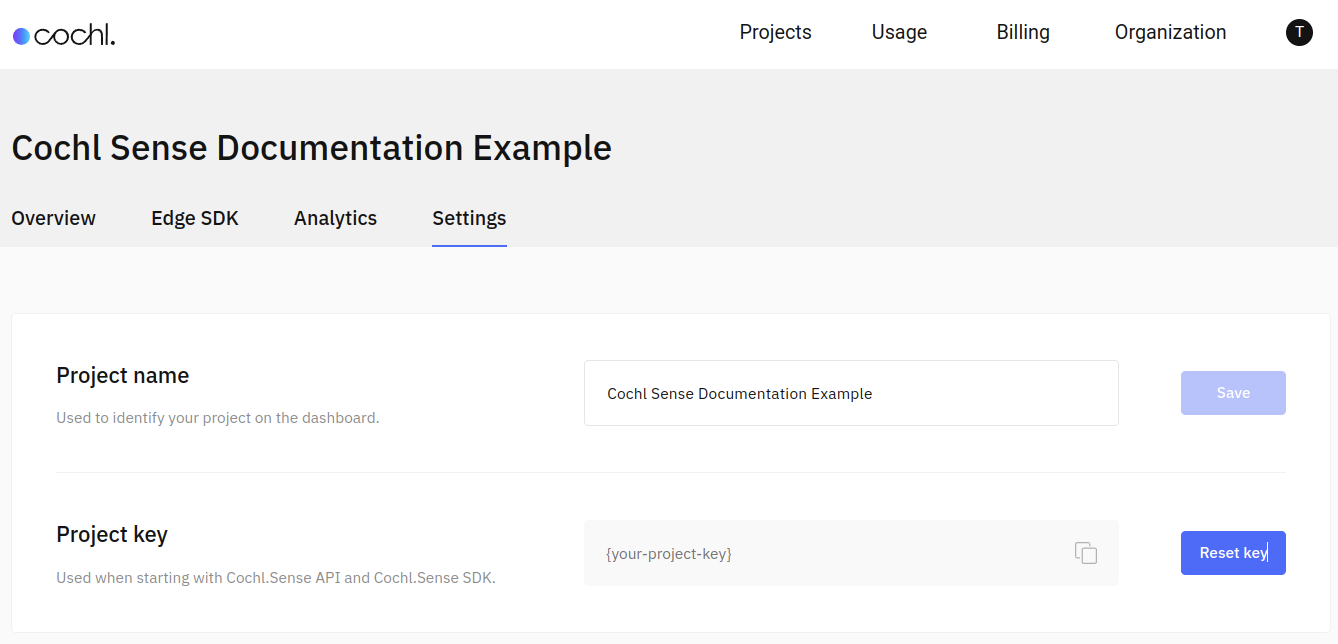
(3) Project Key
- Go to Settings tab of your project
- Check Project Key and keep it for later use
2. Prepare Your Environment
Prepare your environment on which the SDK is used.
List of supported platforms
- Linux Desktop (Ubuntu 18.04 LTS)
- Single-board Computers:
- NVIDIA Jetson TX2
- NVIDIA Jetson Nano
- NVIDIA Jetson AGX Xavier
- Raspberry Pi (3+, 4 Model B)
- Google Coral Dev board
- Android O or Newer
- Others (please contact support@cochl.ai)
If the platform you want to use is not listed above, please feel free to contact us. We provide technical support so that you can use it.
Single-board computer setup
Set up the board with the Google’s official Get Started guide.
Set up the board with the NVIDIA’s official Getting Started guide.
(1) Download OS image
- Download Ubuntu 20.04 64-bit at Ubuntu Downloads
- (Raspbian can be another option, but make sure to use 32-bit version SDK)
(2) Flash OS image
- Download and install Balena Etcher
- Using Balena Etcher, flash image file into to microSD
(3) Run Raspberry Pi
- Mount the microSD into the Raspberry Pi
- Connect power, HDMI, and other peripherals (mouse, keyboard, ethernet …)
- Network settings
3. Install the SDK
- Download Cochl.Sense SDK here
4. Launch Examples
Visit C++ Example, Python Example, or Android Example